CANADA & US WIDE SHIPPING AVAILABLE 🛒

Press-On Nail Perfection: 3 Mistakes to Avoid for a Flawless Manicure

Press-on nails have become a popular choice for those seeking an affordable, convenient,
and stylish way to achieve salon-quality nails at home. They offer a vast array of sizes,
designs, and colors to suit any taste, and unlike traditional manicures, they require no harsh
chemicals or lengthy drying times. However, there’s a knack to applying press-on nails for a
natural and long-lasting look.

This article dives into the three most common mistakes people make when applying
press-on nails, along with handy tips and tricks to ensure your press-on manicure looks
flawless and lasts as long as possible.


Mistake #1: Skipping Nail Prep

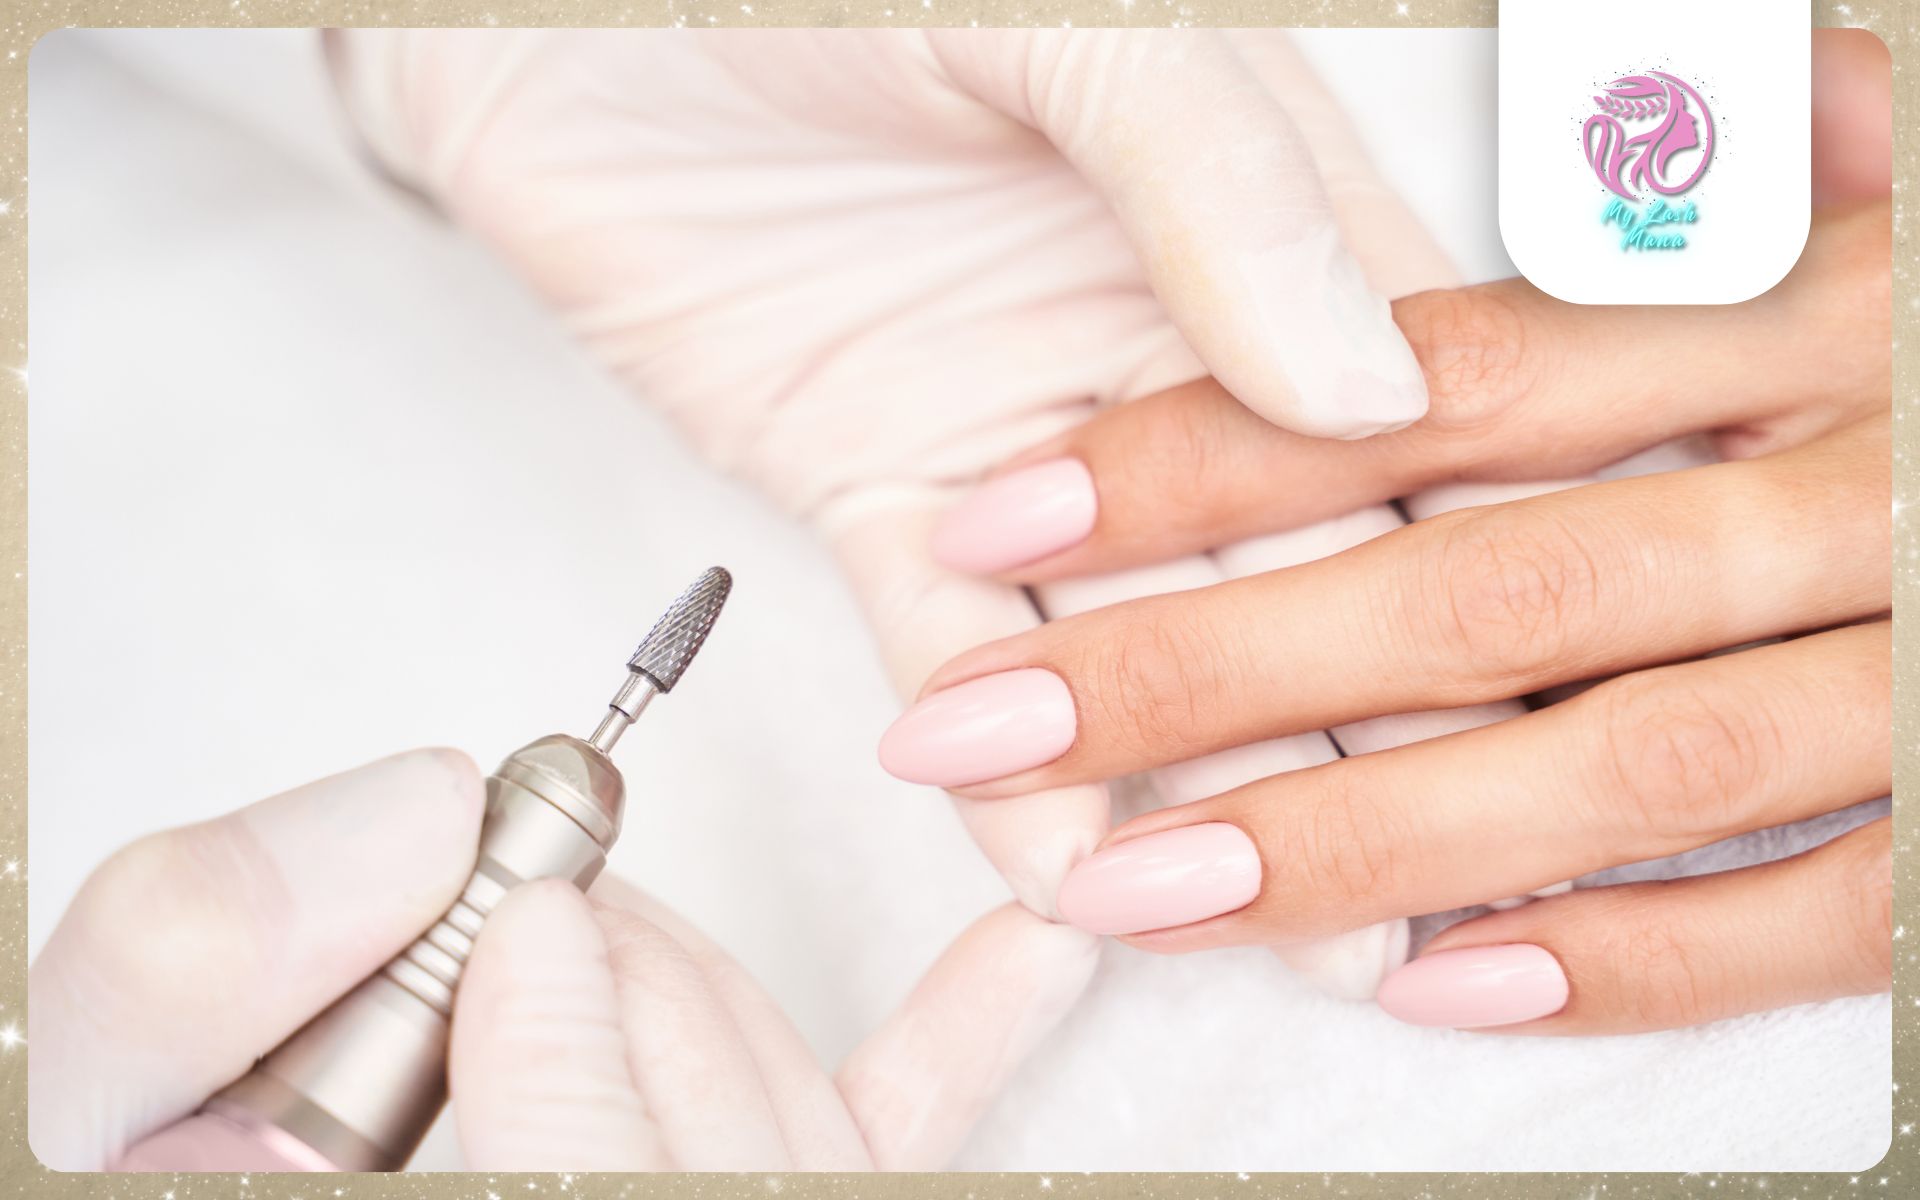
Just like painting your house, a successful press-on application starts with a clean and
prepped surface. Skipping this crucial step can lead to poor adhesion and premature lifting
of your press-on nails. Here’s a step-by-step guide to proper nail prep:

  1. Wash Up: Begin by thoroughly washing your hands with soap and warm water. This
    removes any dirt, oil, or residue that might hinder the glue’s ability to adhere to your
    nails.
  2. Buff and Remove Shine: Using the coarse side of a nail buffer, gently buff the
    surface of each nail. This creates a slightly rough texture that provides the perfect
    foundation for the glue to grip onto.
  3. Cuticle Care: Gently push back your cuticles with a cuticle pusher and trim any
    excess skin. This not only creates a cleaner look but also prevents the press-on nails
    from overlapping onto your cuticles, which can cause them to lift prematurely.
  4. Cleanse and Dehydrate: Wipe each nail with an alcohol pad to remove any
    remaining dust or debris left behind from buffing. This final step ensures a clean and
    dry surface for optimal adhesion.

    By following these simple nail prep steps, you’ll create a solid foundation for your press-on
    nails, allowing them to adhere better and last longer.

    Mistake #2: Sizing Up Incorrectly

    Finding the perfect size press-on nail is crucial for achieving a natural look. Nails that are too
    big will overlap the skin around your nails, appearing bulky and unnatural. Conversely, nails
    that are too small will leave gaps on the sides, exposing your natural nail and creating an
    unfinished look.

    Most press-on nail kits come with a sizing guide, and each press-on nail will have a
    corresponding number on the underside that indicates its size. Typically, size 0 will be the
    largest, while size 11 will be the smallest. Carefully measure your natural nails and match
    them to the corresponding press-on size for the most natural look.

    If you find yourself in between sizes, it’s generally recommended to opt for the smaller size.
    A slightly smaller press-on nail can be gently filed down at the sides to achieve a perfect fit,
    whereas a larger nail that overlaps your skin will be more prone to lifting and breakage.

    Mistake #3: Trapped Air Bubbles


    Once you’ve prepped your nails and chosen the correct sizes, it’s time for application. Here’s
    where things can get a little tricky. Air bubbles trapped between your natural nail and the
    press-on nail can cause lifting and spoil the overall look.
    Here are some tips to ensure a bubble-free application:

● Apply Glue Strategically: Use a small amount of press-on nail glue on both your
natural nail and the underside of the press-on nail. A good rule of thumb is to use a
pea-sized amount of glue for each nail. Too much glue can lead to messy application
and overflow onto your skin.

● Angled Application: When placing the press-on nail on your natural nail, start at the
cuticle line and gently press it down in a downward angle, ensuring a snug fit. Avoid
lifting or repositioning the press-on nail once it’s placed, as this can disrupt the glue’s
adhesive properties.

● Press and Hold: Once the press-on nail is in position, firmly press down on the
center of the nail for 30-60 seconds. Apply gentle but firm pressure to ensure the
entire nail adheres properly and to eliminate any air bubbles that might be trapped
underneath.

● Pinch and Secure: After holding down the center, gently pinch the sides of the
press-on nail against your natural nail. This additional pressure helps to further
secure the bond and eliminate any air pockets that might be lingering on the edges.
By following these tips and avoiding the common mistakes mentioned above, you can
achieve a flawless and long-lasting press-on nail application that will leave you feeling
confident and stylish.

Comments are closed